In this post, we explore how to enrich your CRM data (add employees emails, Linkedin, and more) through our API. This will allow you to build more custom workflows and integrate data enrichment into your existing systems. We simply expose an endpoint that you can call through HTTP requests. The API is fairly straight forwards to use. We will go through the main steps to get you started.
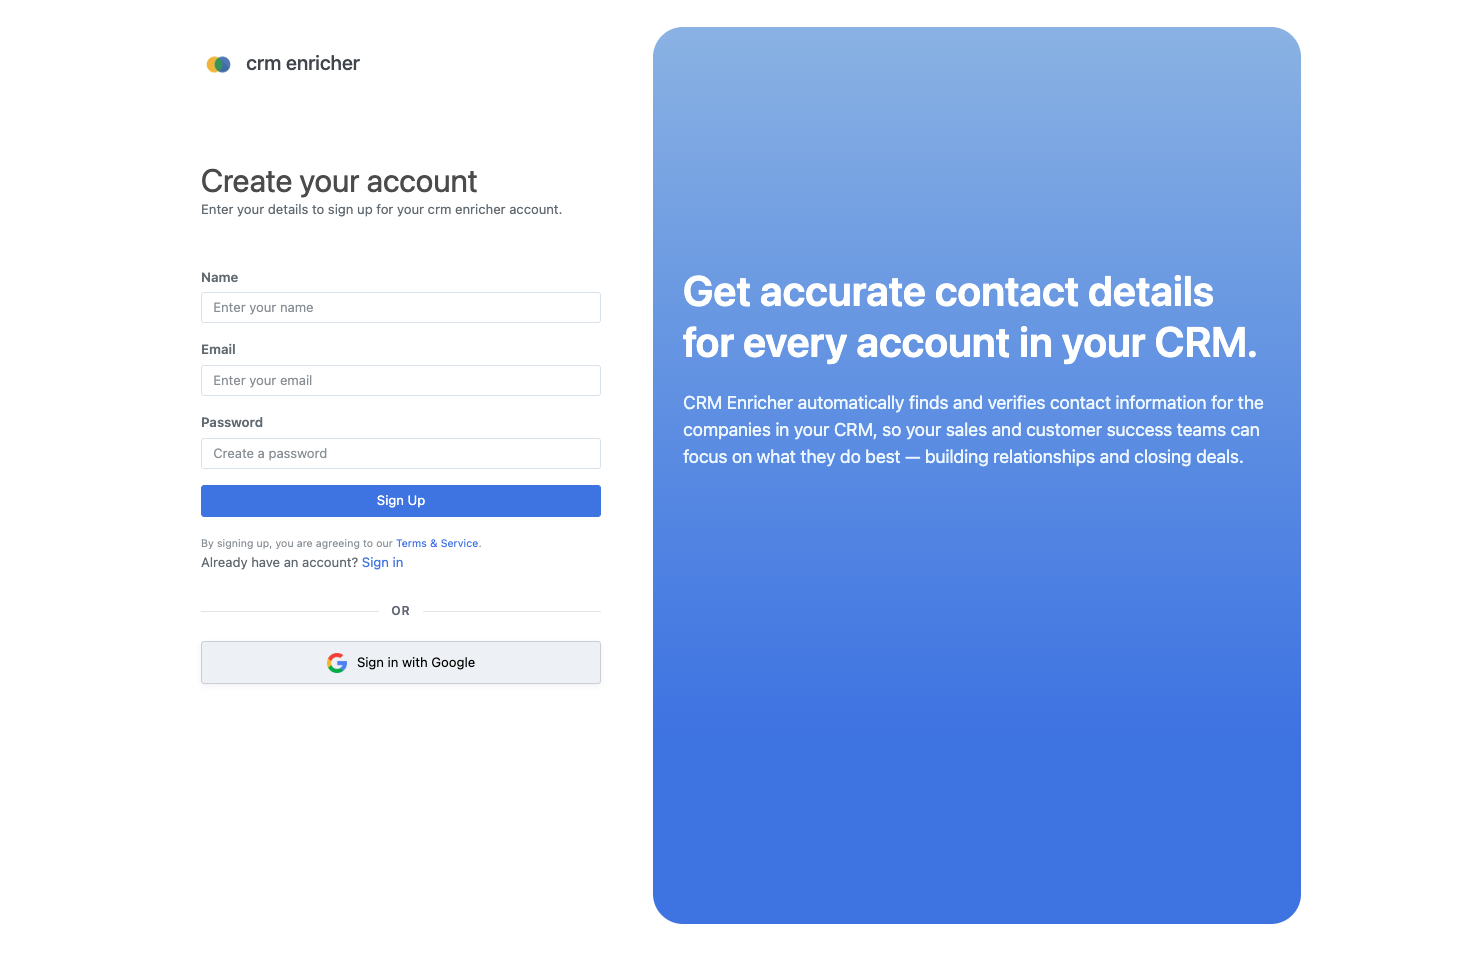
Step 1: Sign up for an Account
Start by signing up for a new account. You will be able to test out the API without a credit card for a limited number of requests. Once you are ready, you can upgrade to a paid plan.
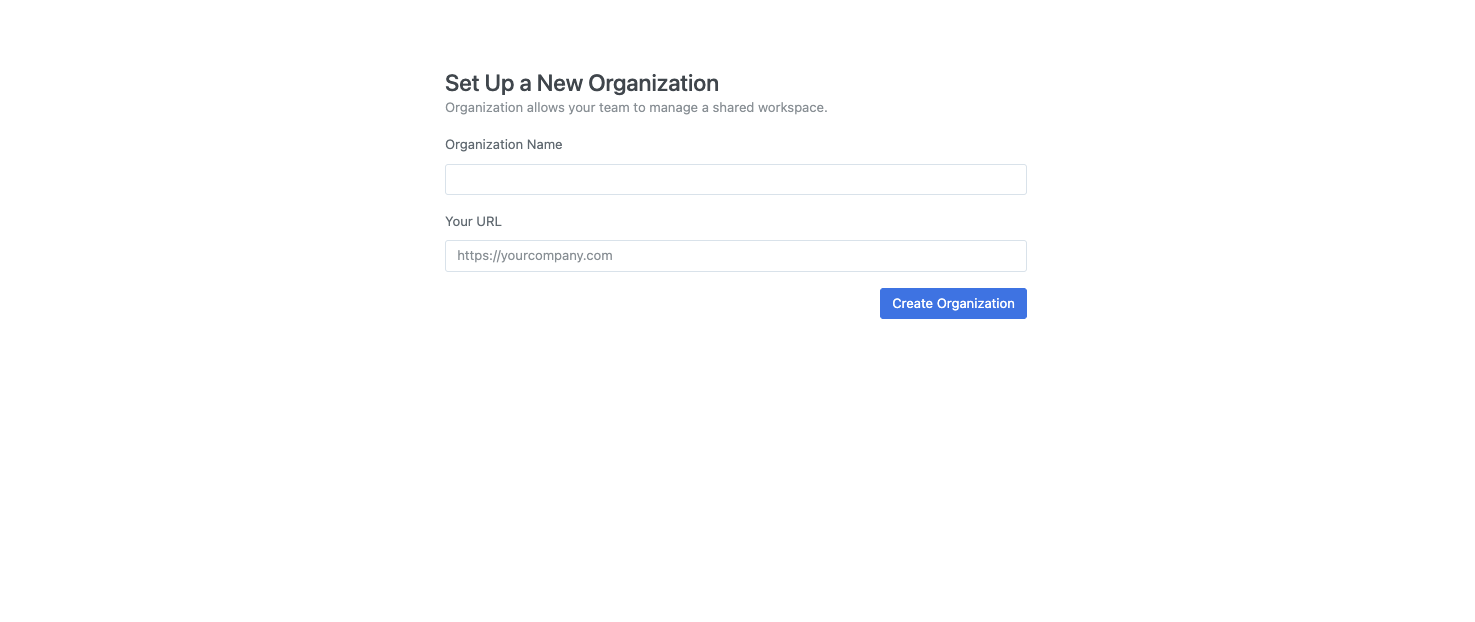
Step 2: Create your Organization
We use organizations to separate data between different teams or companies. A user can belong to many organizations. After signing up, you will be prompted to create your first organization. Provide a name, and URL for your organization.
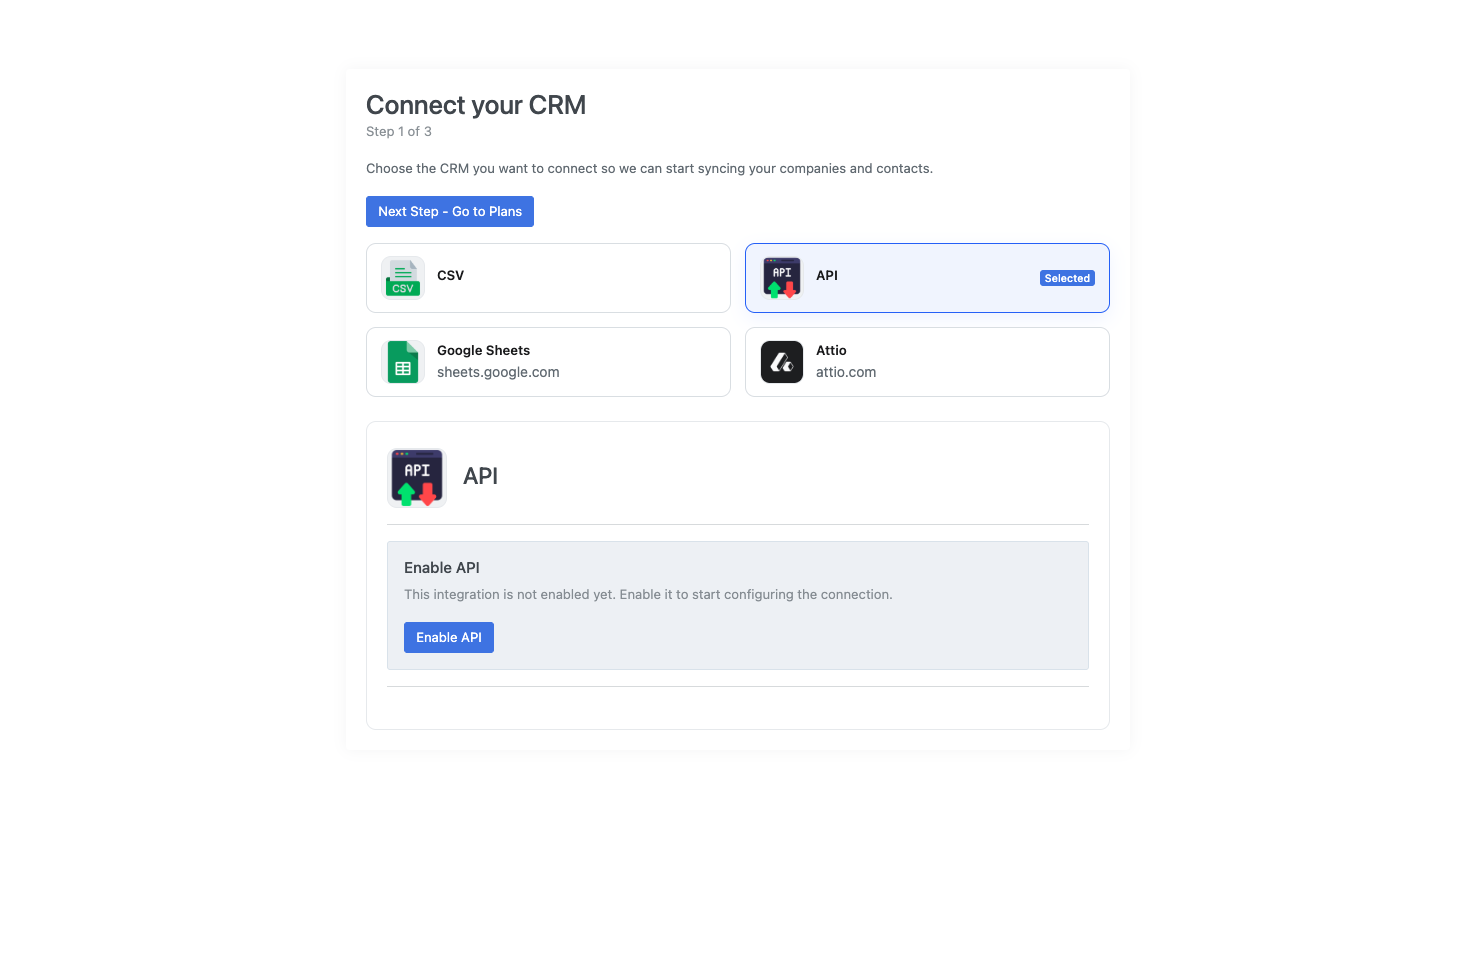
Step 3: Enable the API
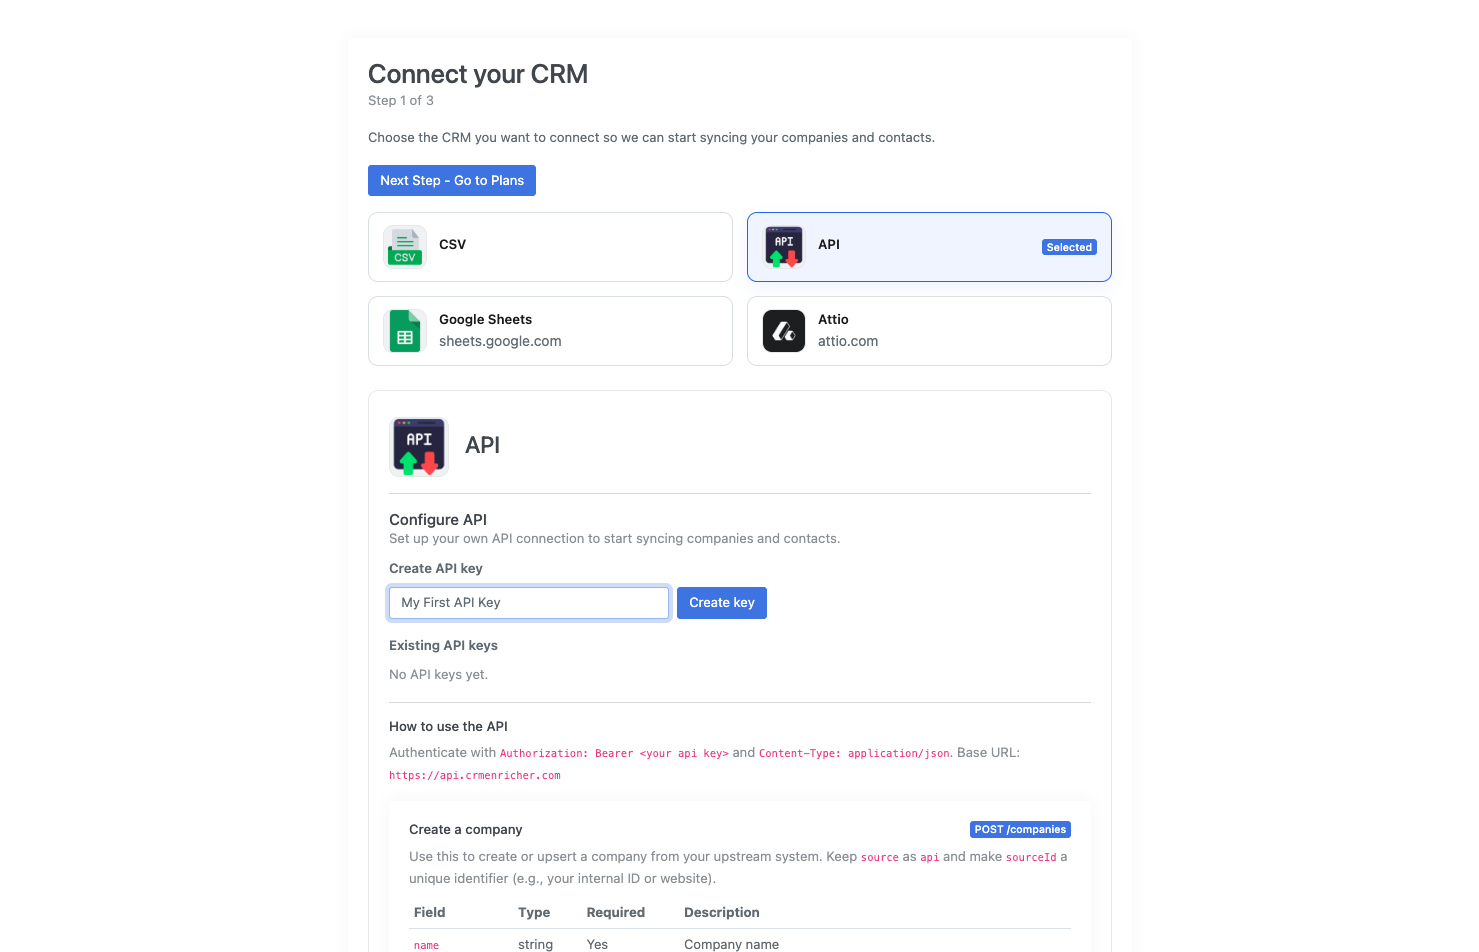
You will be prompted to connect your Customer Relationship Management (CRM) system. We are going to select the "API" integration. Hit "Enable API".
Step 4: Create your API Key
You can now create your API key. Provide a name for your key (e.g. "My First API Key") and hit "Create key". You will be shown your API key. Make sure to copy it and store it somewhere safe.
Step 5: Time to make your first API Call!
You are now ready to make your first API call. Below is an example of how to enrich a contact using cURL. Make sure to replace YOUR_API_KEY with the API key you created in the previous step.
curl -X POST https://api.crmenricher.com/companies \
  -H "Authorization: Bearer YOUR_API_KEY" \
  -H "Content-Type: application/json" \
  -d '{
    "name": "Stamped.io",
    "url": "stamped.io",
    "sourceId": "stamped.io",
    "source": "api",
    "attributes": {
      "plan": "pro"
    }
  }'
We are creating a new company record called "Stamped.io". We are using the URL within the "sourceId" field to avoid duplicates. This can also be your CRM unique identifier or any other primary key. The "attributes" field allows you to pass any custom data you want to associate with the company. The main element is the "url" field which is used to perform the enrichment.
You will get a response like:
{
   "company":{
      "id":"cust_902fdf534c90440f884e7debb6dc33e1",
      "name":"Stamped.io",
      "url":"stamped.io",
      "linkedinUrl":"",
      "logoUrl":"",
      "contacts":0,
      "sourceId":"stamped.io",
      "source":"api",
      "attributes":{
         "plan":"pro"
      },
      "syncingStatus":"not_synced"
   },
   "message":"Created company"
}
This is the new record in your system. The syncingStatus field will tell you the state of the enrichment. This has kicked off an asynchronous process to gather more data about this company. You can check back later by querying the company using the GET /companies/{id} endpoint. The syncing status can be not_synced (queued job but not started), syncing (currently being enriched), synced (enrichment complete), or error (enrichment failed).
It should be relatively quick to get the enriched data back.
In the command below, replace YOUR_COMPANY_ID with the id field from the response above. Again, replace YOUR_API_KEY with your actual API key.
curl -X GET "https://api.crmenricher.com/companies/YOUR_COMPANY_ID" \
  -H "Authorization: Bearer YOUR_API_KEY"
Once completed, the response may look like:
{
   "company":{
      "id":"cust_902fdf534c90440f884e7debb6dc33e1",
      "name":"Stamped",
      "url":"stamped.io",
      "linkedinUrl":"https://www.linkedin.com/company/stamped-io",
      "logoUrl":"",
      "contacts":10,
      "sourceId":"stamped.io",
      "source":"api",
      "attributes":{
         "emailPattern":"{first}.{middle}.{last}",
         "genericEmails":"support@stamped.io",
         "plan":"pro"
      },
      "syncingStatus":"synced"
   },
   "message":"Returned company"
}
You can query the employees with:
curl -X GET "https://api.crmenricher.com/companies/employees?companyIds=YOUR_COMPANY_ID&page=1&limit=10" \
  -H "Authorization: Bearer YOUR_API_KEY"
The response will be something like:
{
   "employees":[
      {
         "id":"emp_62fb141e2038498fbd53053b9e215add",
         "companyId":"cust_902fdf534c90440f884e7debb6dc33e1",
         "firstName":"John",
         "lastName":"Smith",
         "email":"john.smith@stamped.io",
         "position":"Onboarding Specialist",
         "sourceId":"john.william.smith@stamped.io",
         "source":"",
         "attributes":null,
         "hasInteracted":"",
         "linkedinProfile":"https://www.linkedin.com/in/johnsmith",
         "linkedinProfileSource":"crm",
      }
   ],
   "message":"Listed employees"
}
That's it from an API perspective!
Step 6: Finish Setup
Next, hit "Next Step - Go to Plans" to move past the "Connect your CRM" step. Select the plan that makes sense for you. Hit "Next", and you will be taken to a Stripe checkout page. All billing is managed through Stripe. You will be redirected back to the app once you complete the checkout.
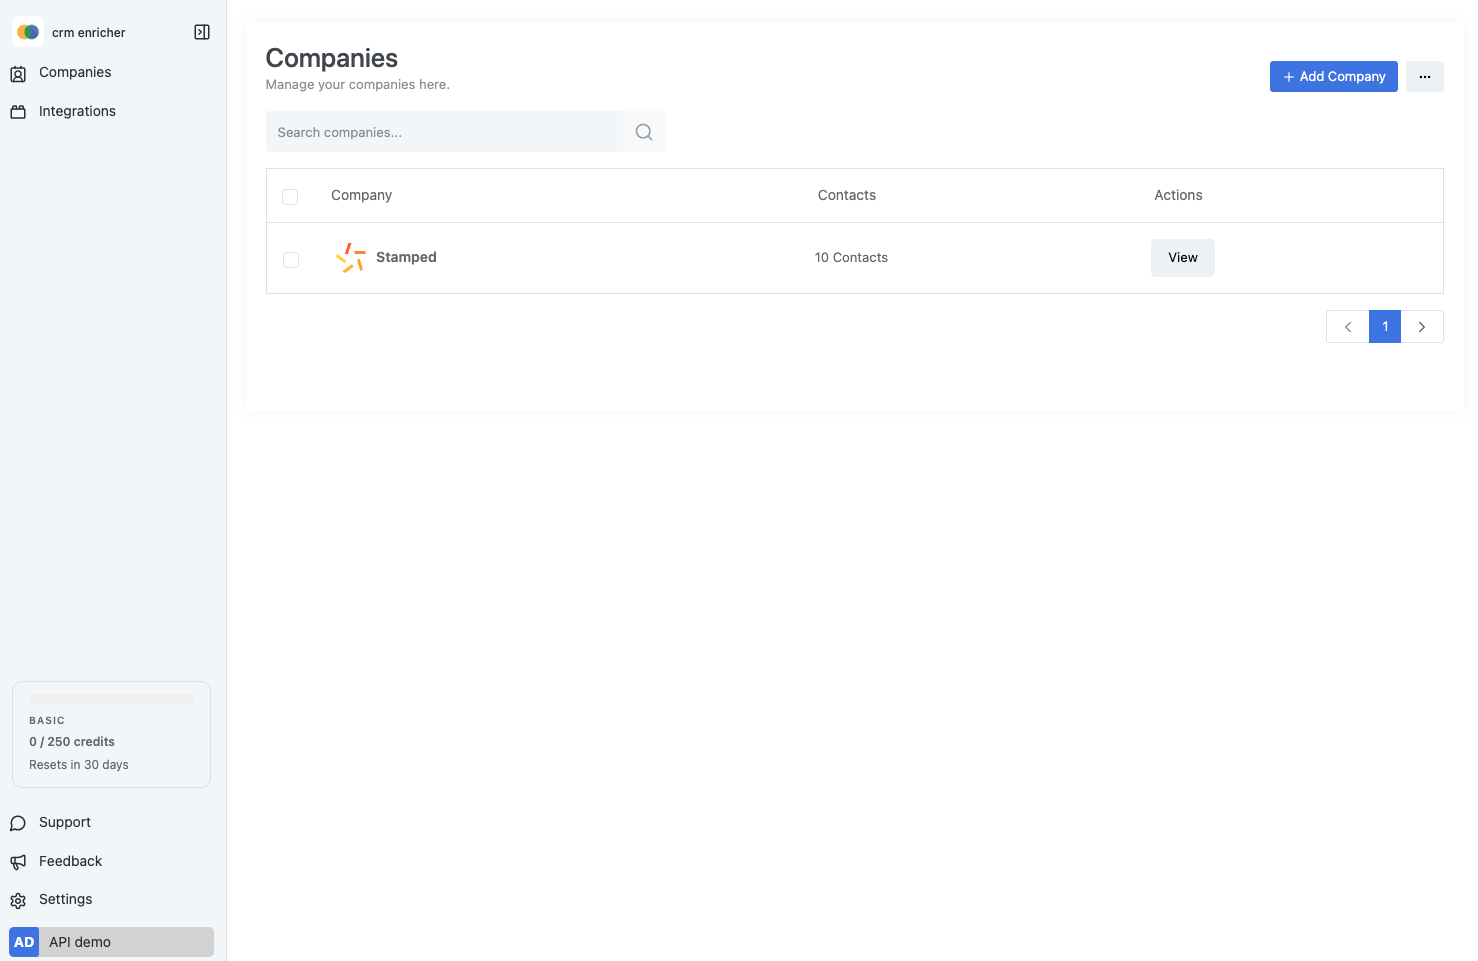
On the left side, you can view your usage. You can see when it resets and how many enrichment jobs you have used. Each time you create a new company record, it will appear on the companies page. The objective is that this replicates your CRM data.